Woodworking: Pizza peel
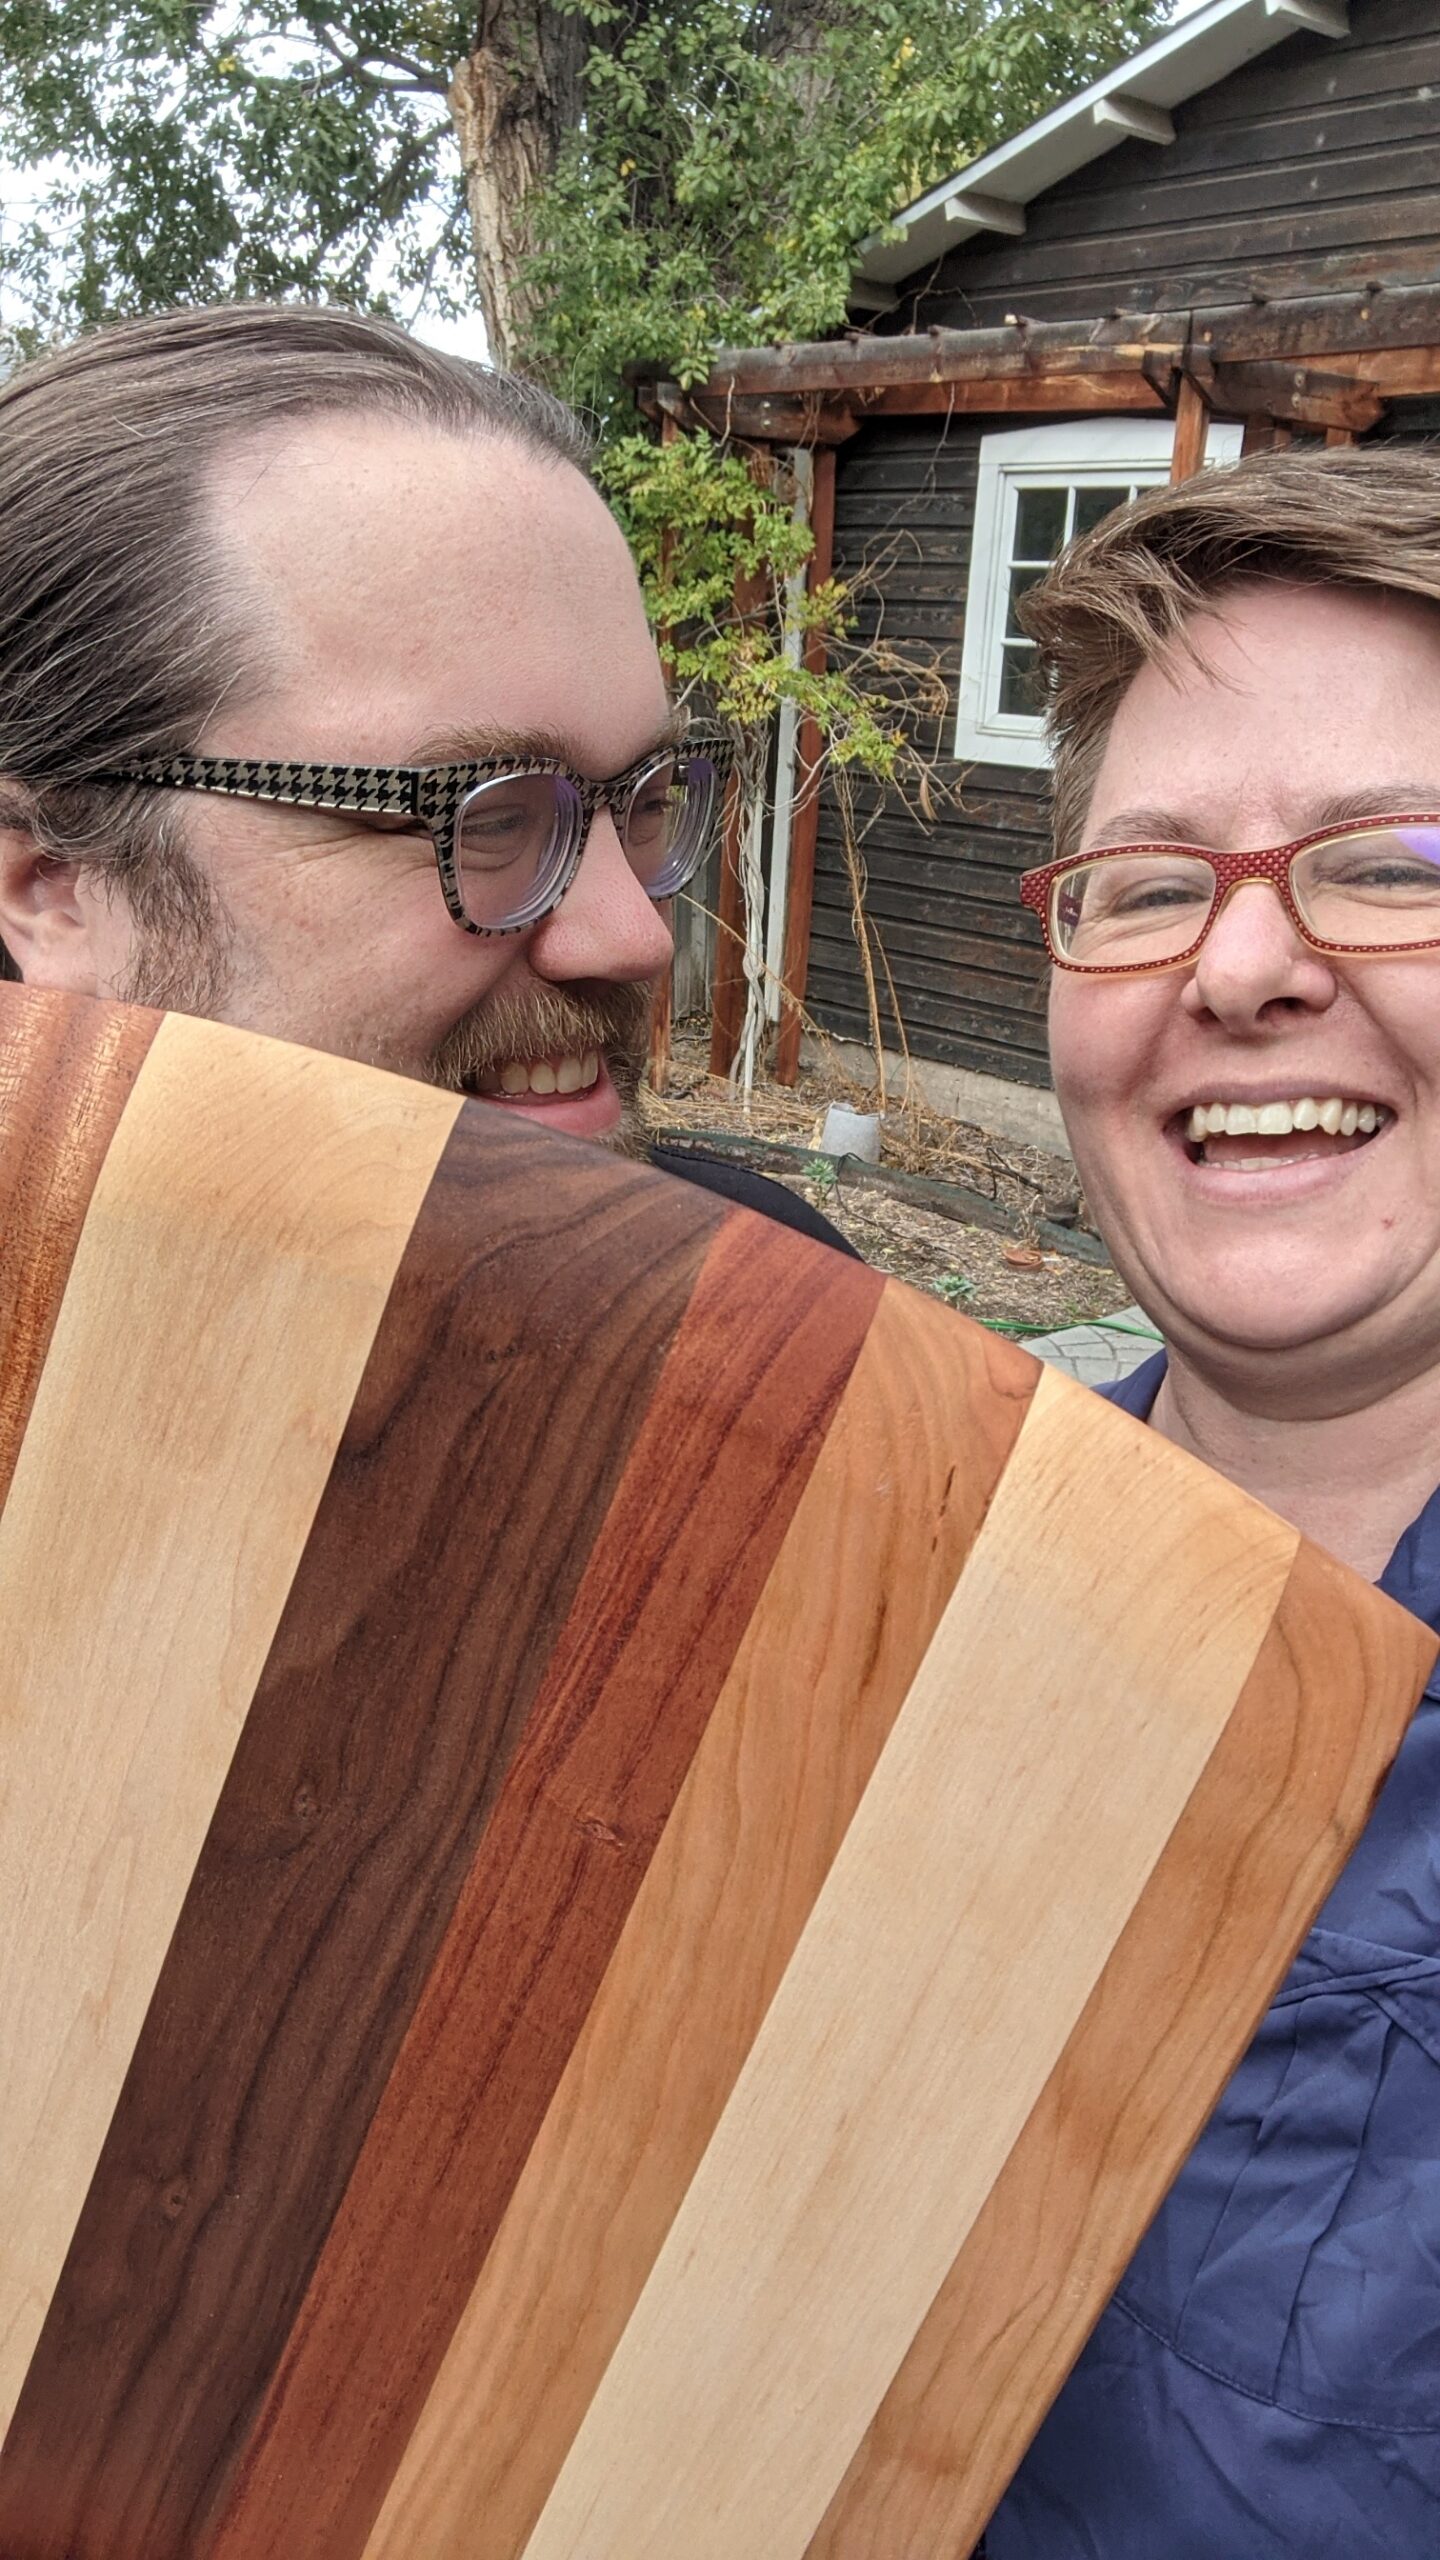
Paul and I took a super fun class at Dovetail Community Workshop this week: Make your own pizza peel! Paul’s been wanting to try out woodworking, I’ve been wanting a pizza peel: It was fate.
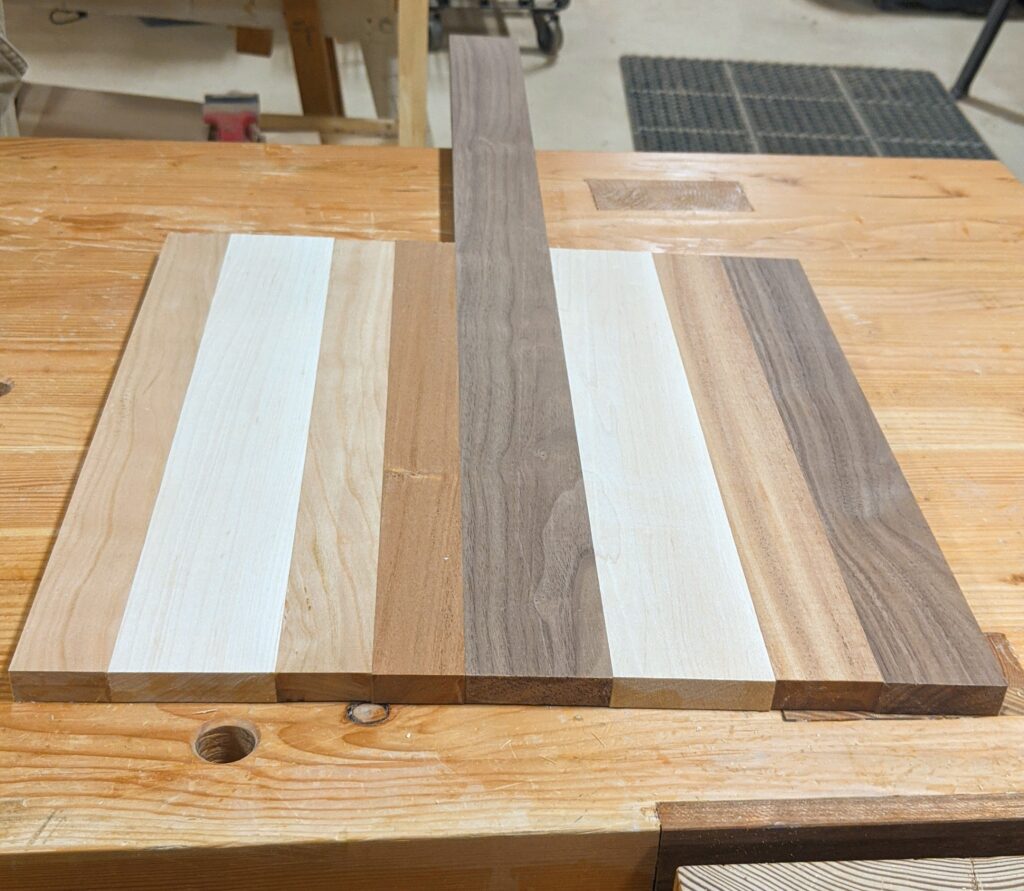
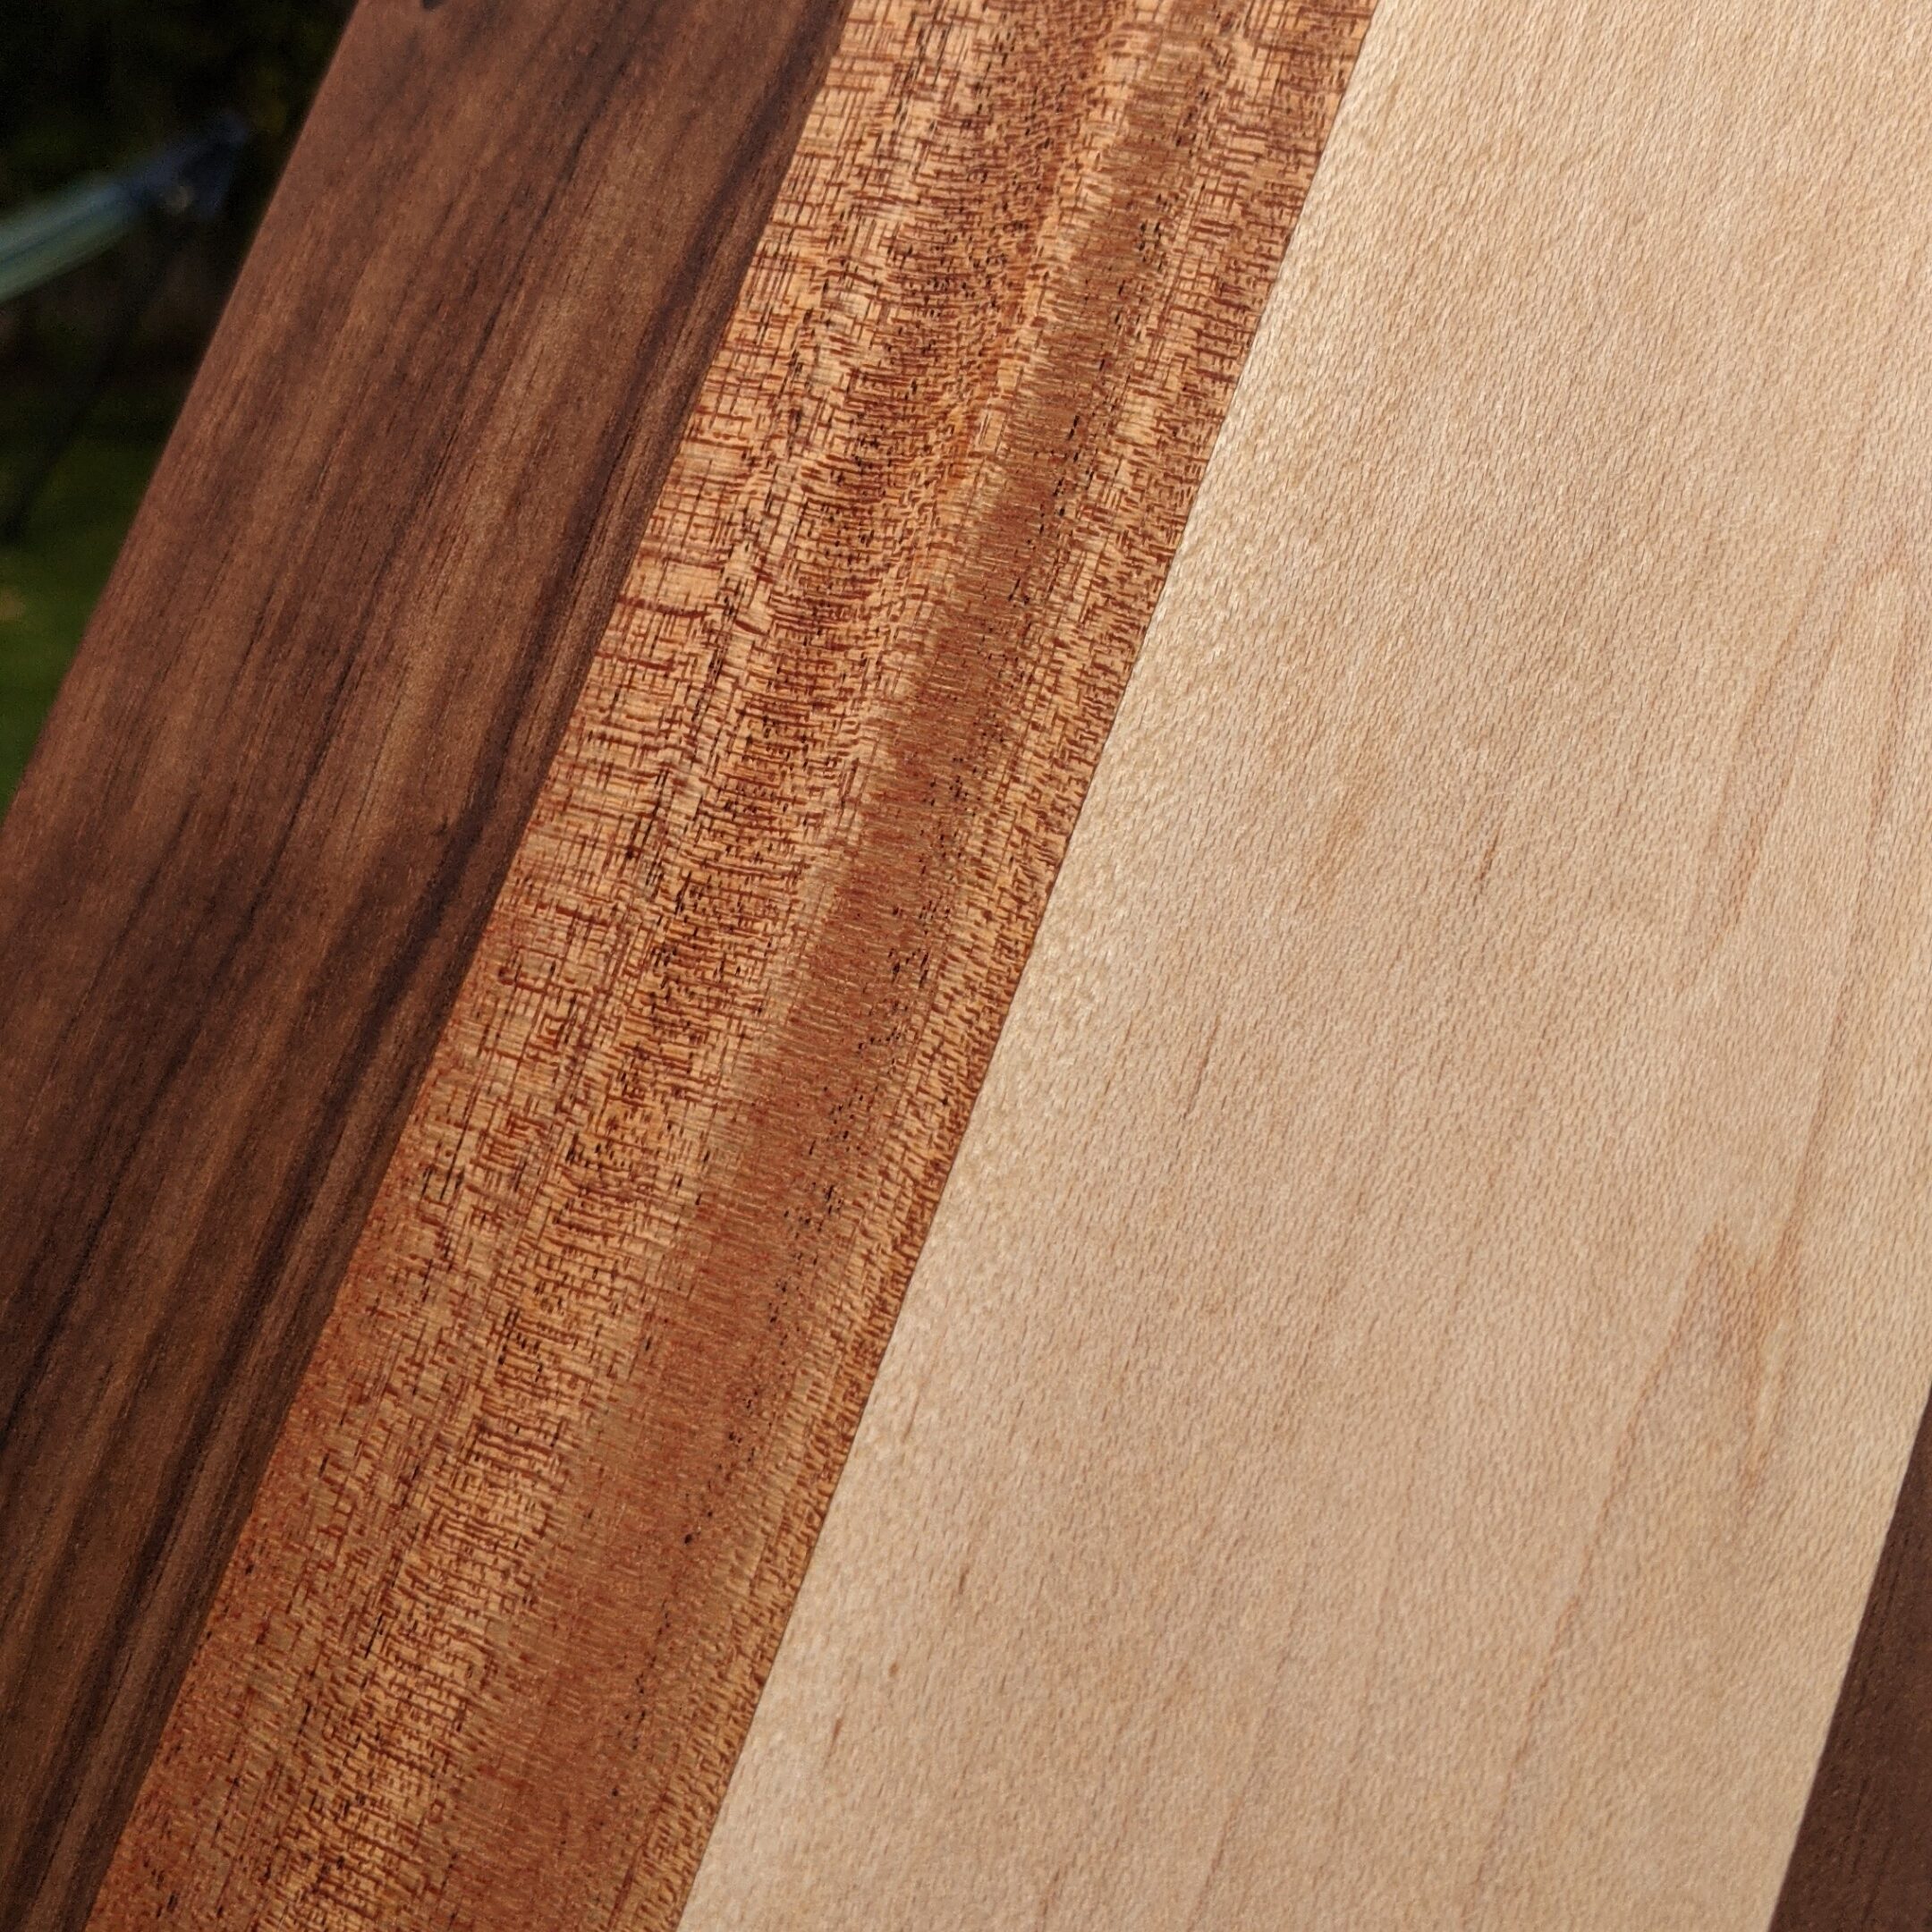
The first task was to select the wood we wanted to use. Balancing color, handle placement, and choosing the most beautiful side of each piece. We also learned how to read the grain of the wood so that it would go through the planer more smoothly.
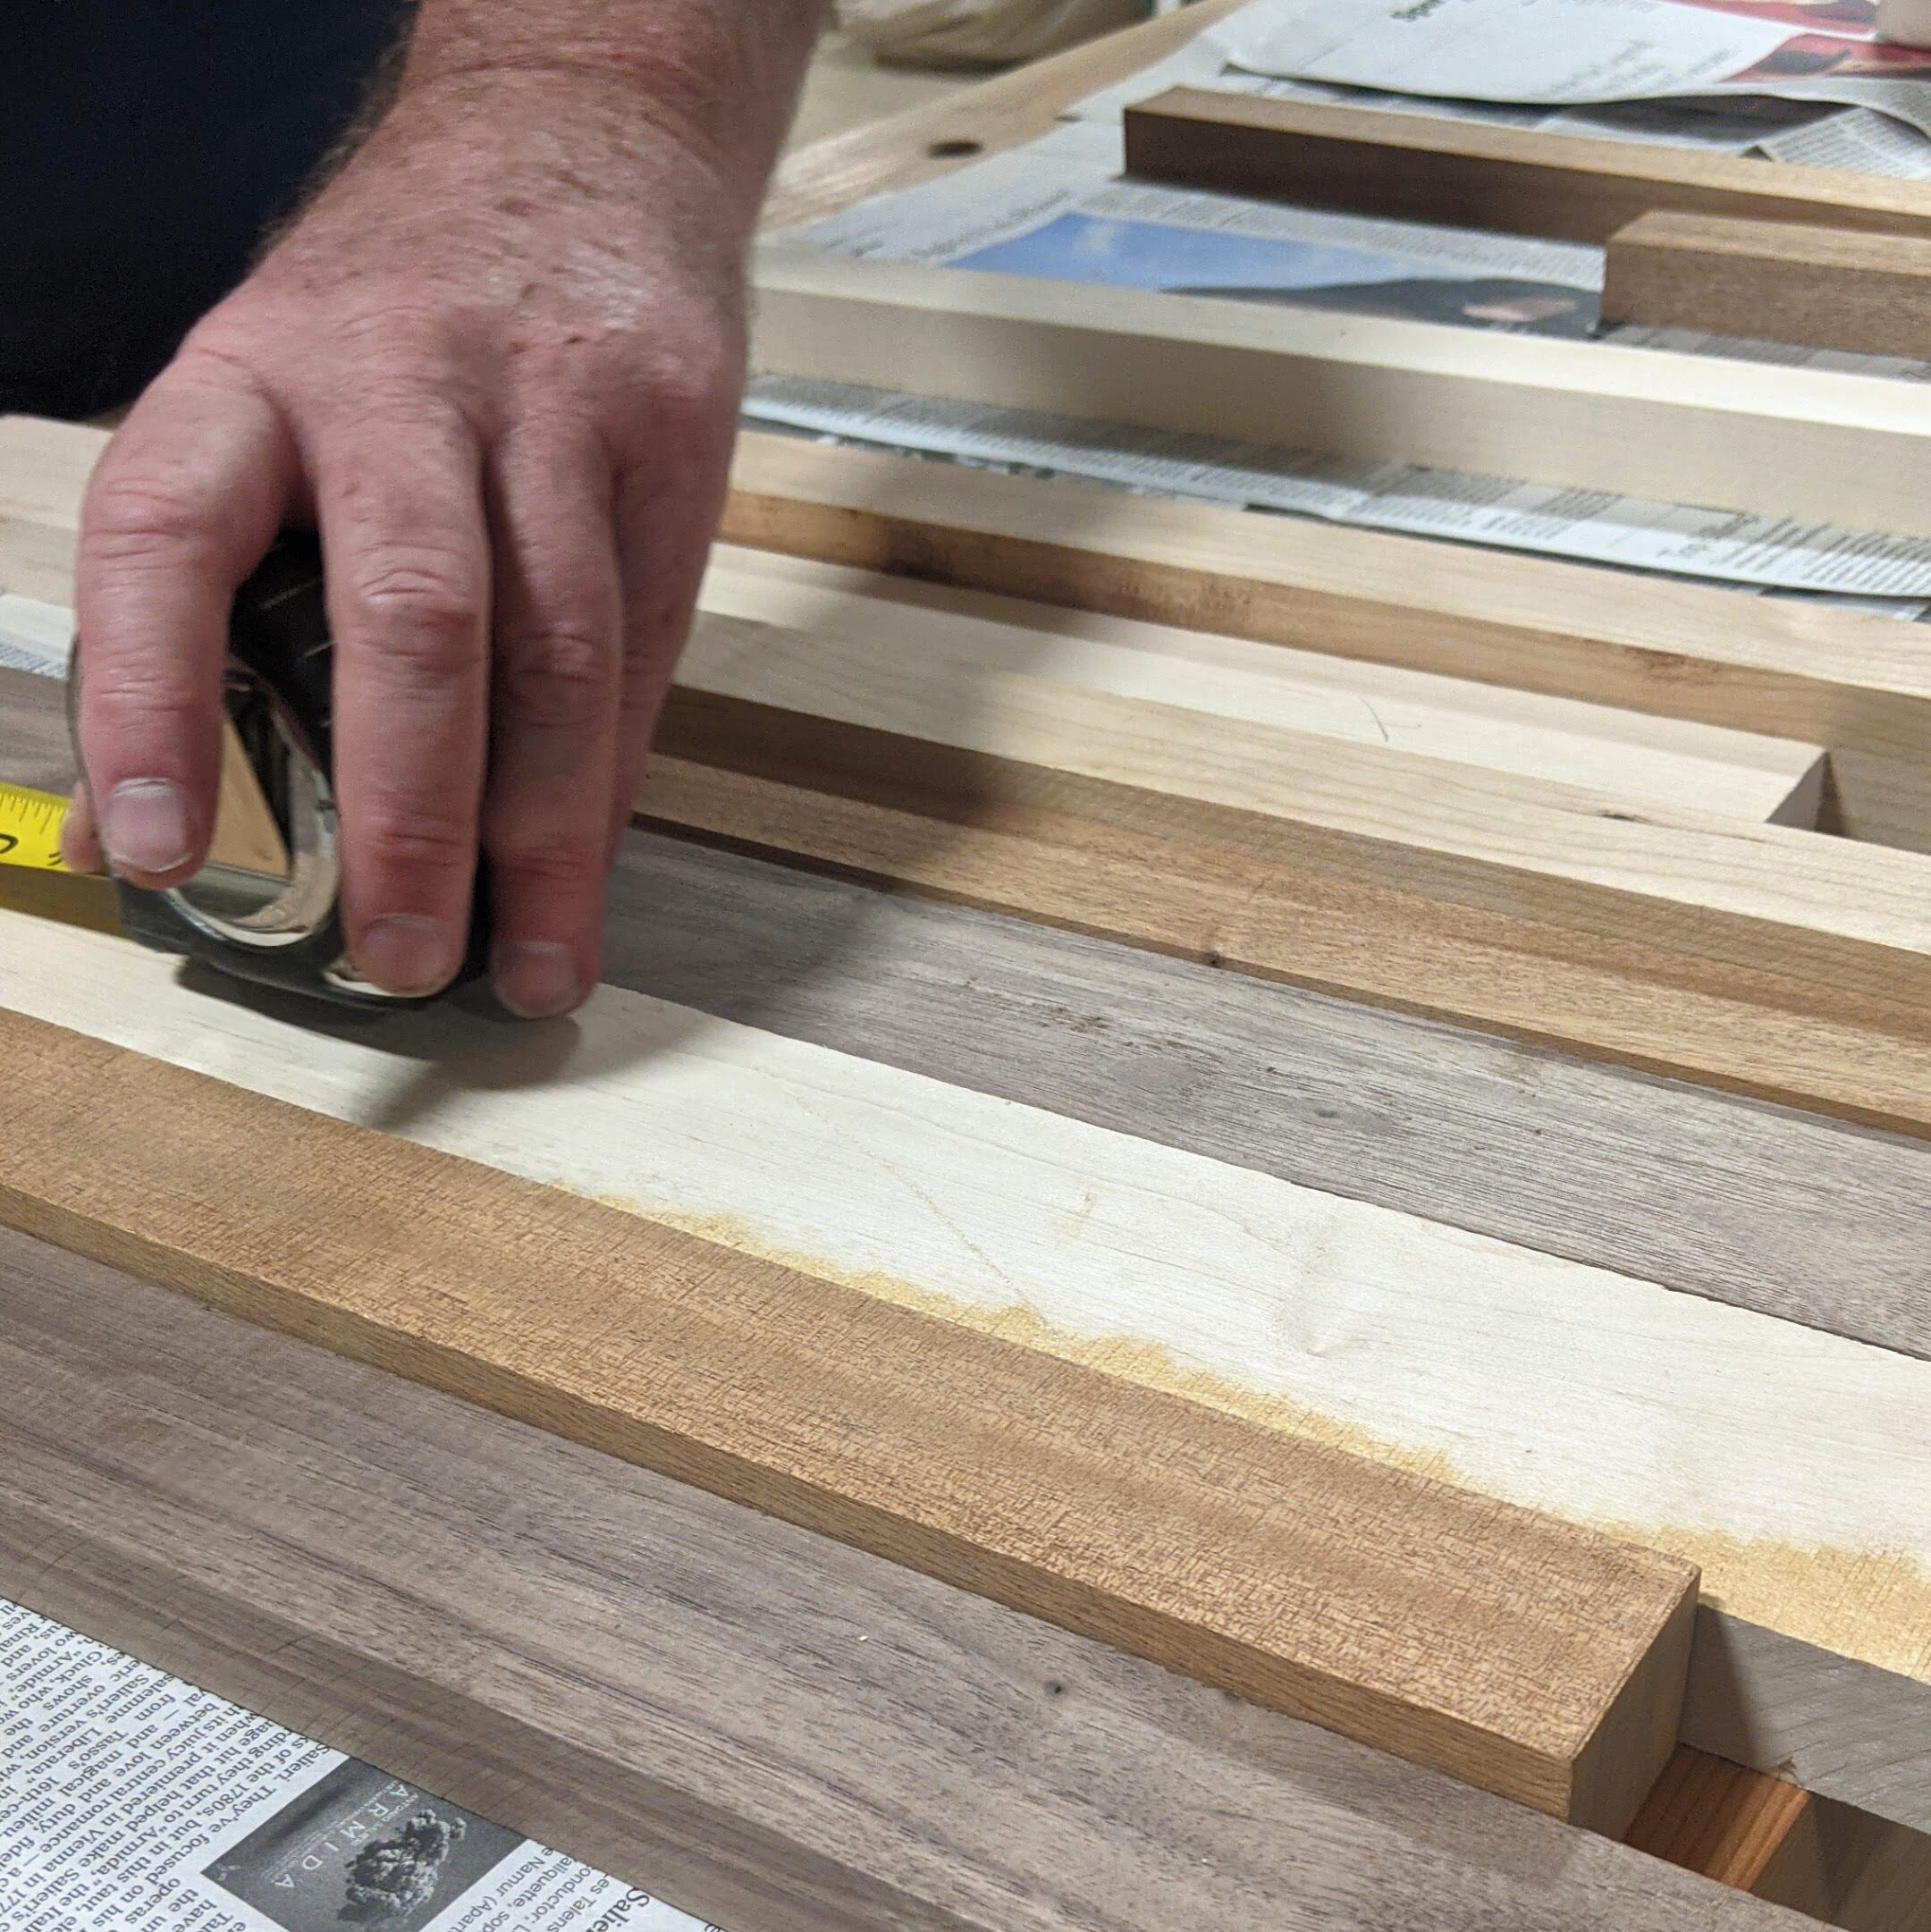
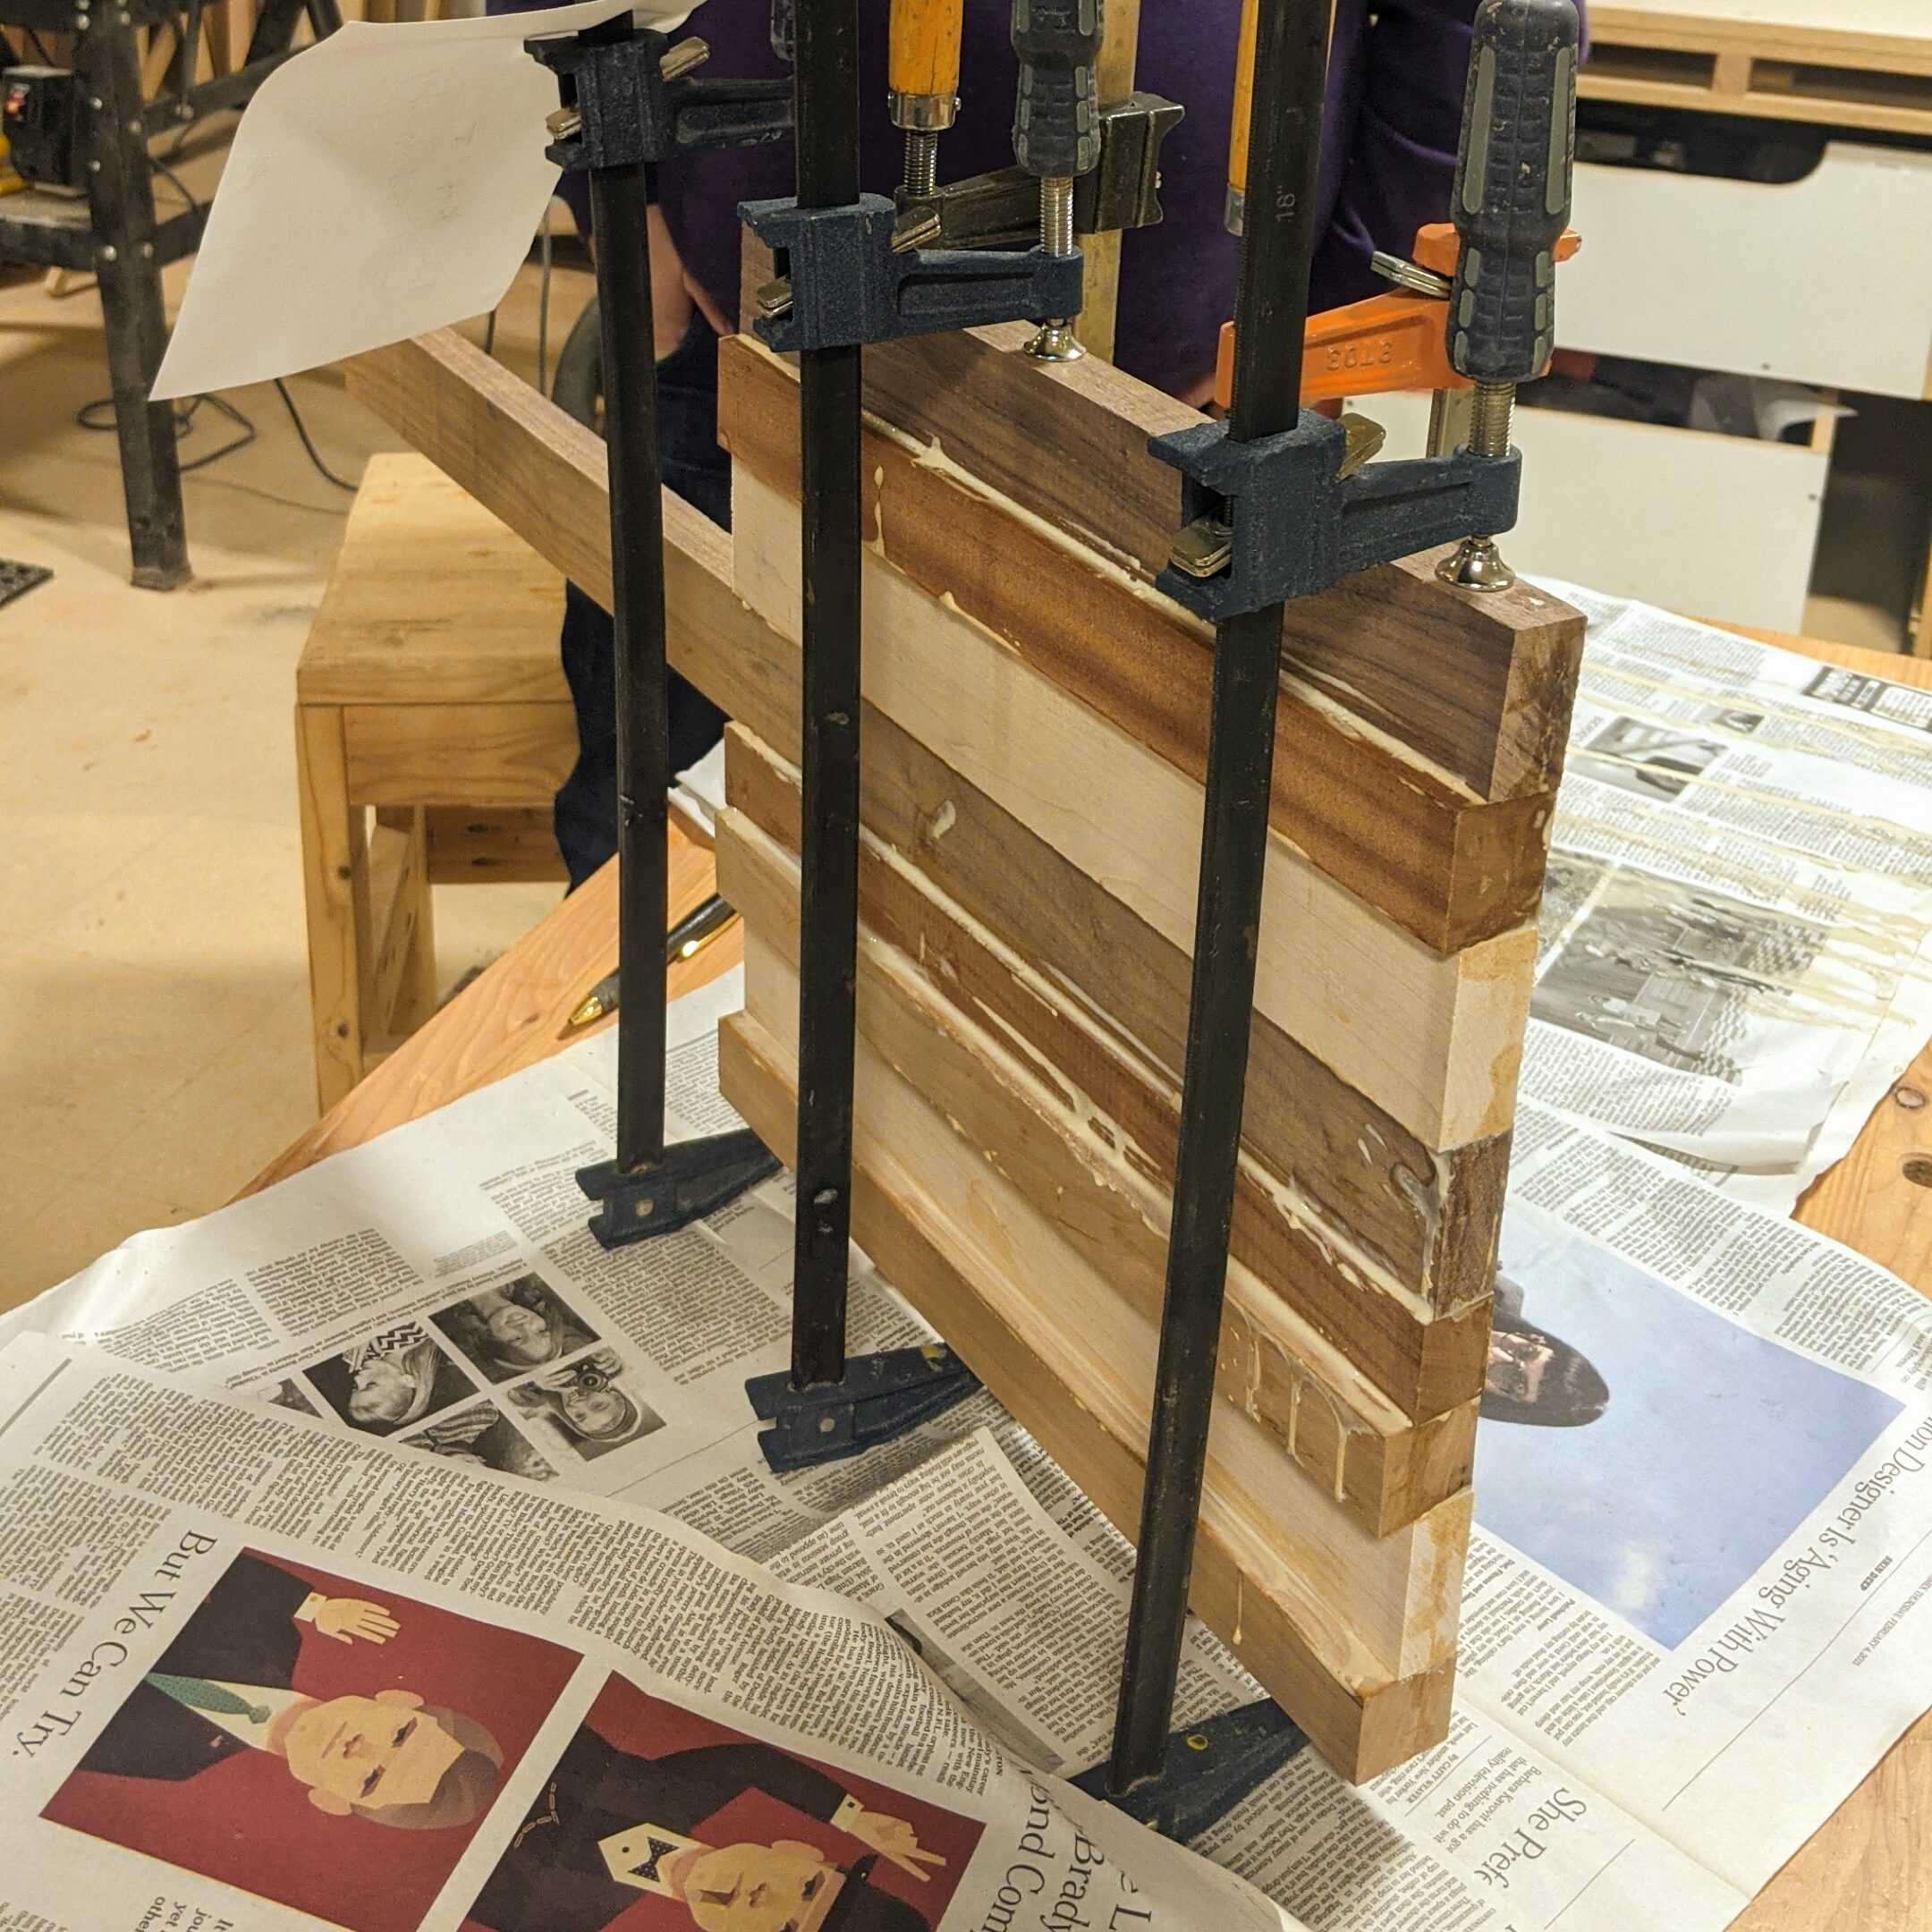
We cut the pieces to about the same size on a miter saw, glued ’em all together with waterproof glue, then time to clamp and wait:
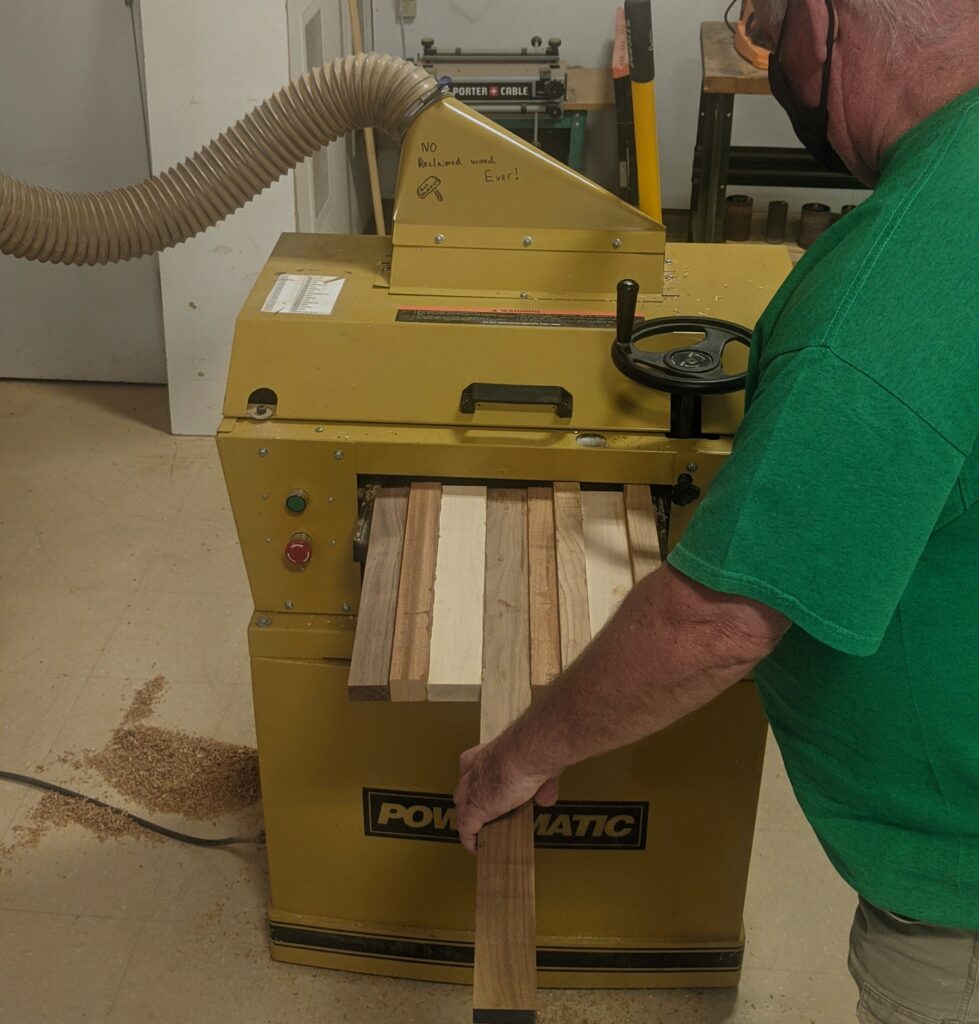
When we returned, it was time to run this puppy through the planer to make it level. After 30 or more runs through the planer, we had a beautifully flat pizza peel ready to shape.
First we measured a curve for the edge, and then used a band saw to make the curve on the front end of the peel. It was my first time using a bandsaw and I think the edge came out pretty well. Mostly I think this because the experts said it did. Bandsaws, as it turns out, are kind of like sewing machines.
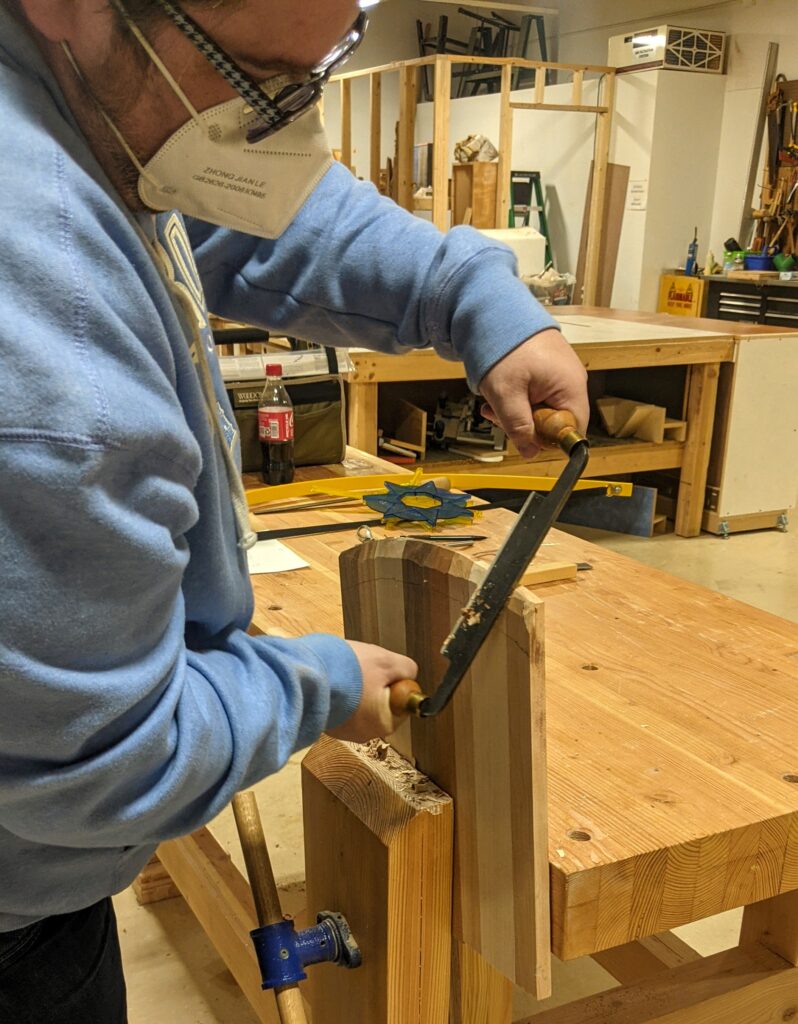
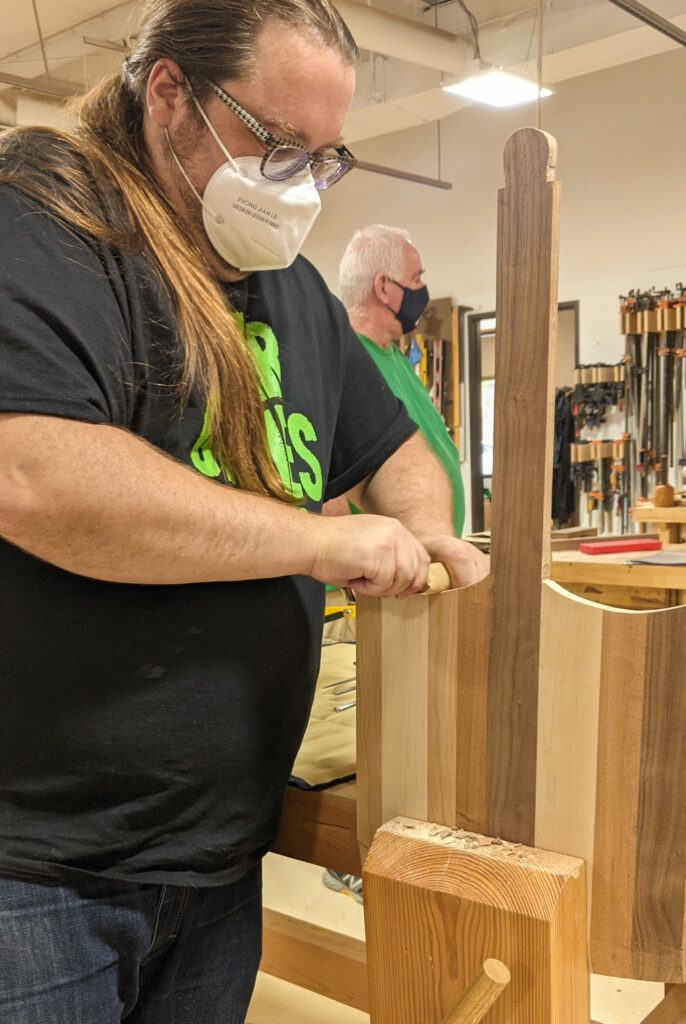
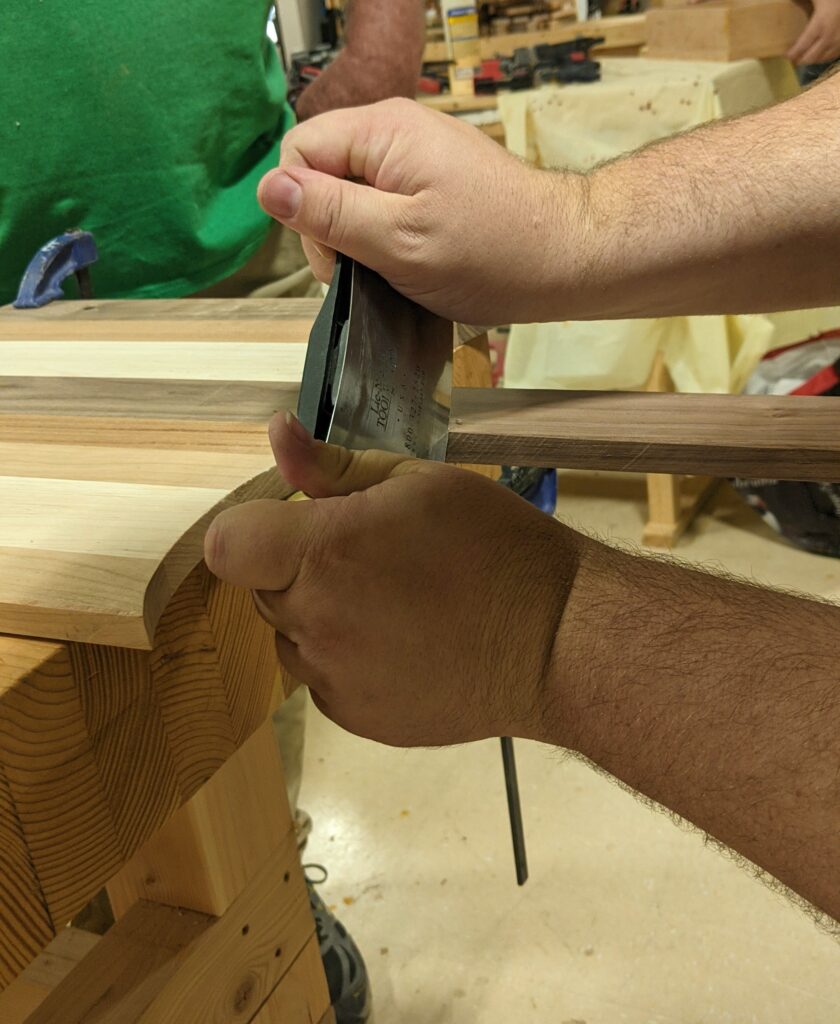
Then we measured out an inch and a half bezel, and used both a draw knife and spoke shave to shape the bezel.
After using the bandsaw to make nice cutaways near the handle, and an oscillating spindle sander to smooth those out, it was time to start shaping the handle and the edges. My A+ bandsaw work did not quite translate to the circle on the handle, but it got a little prettier with some free application of a rasp.
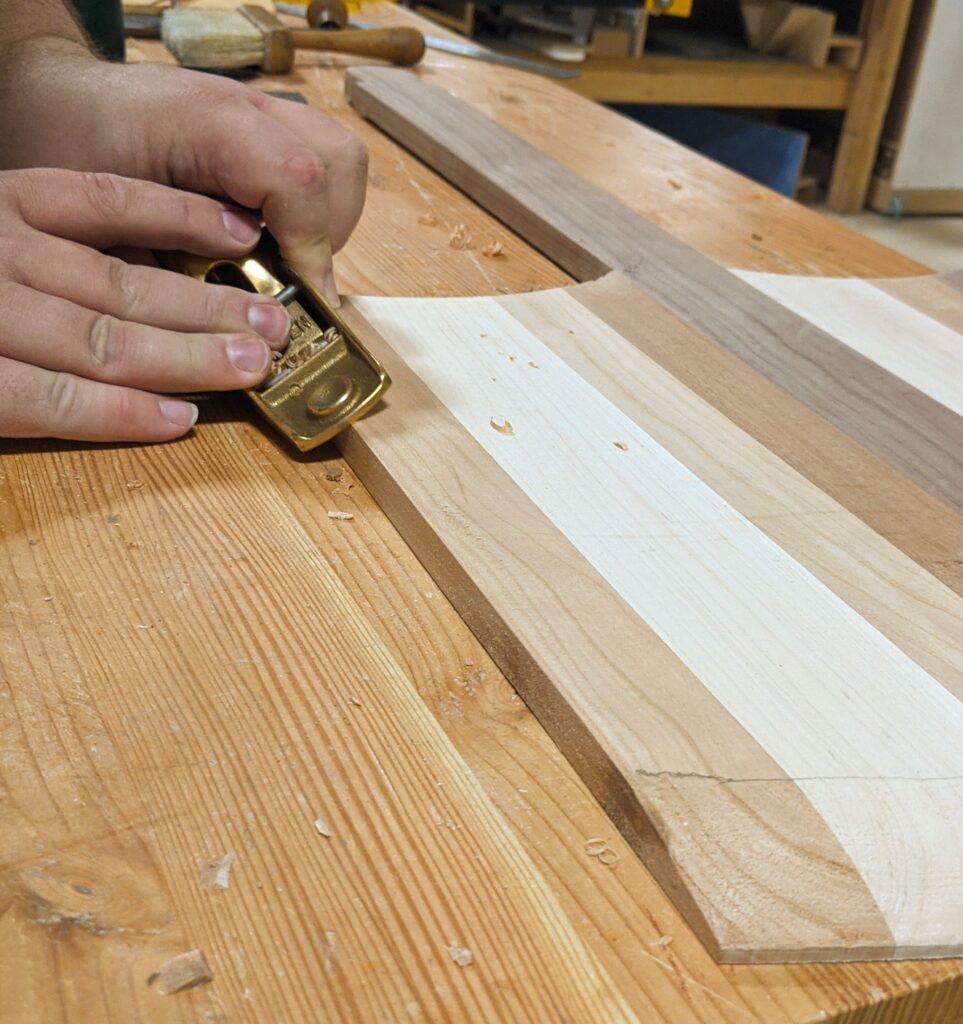
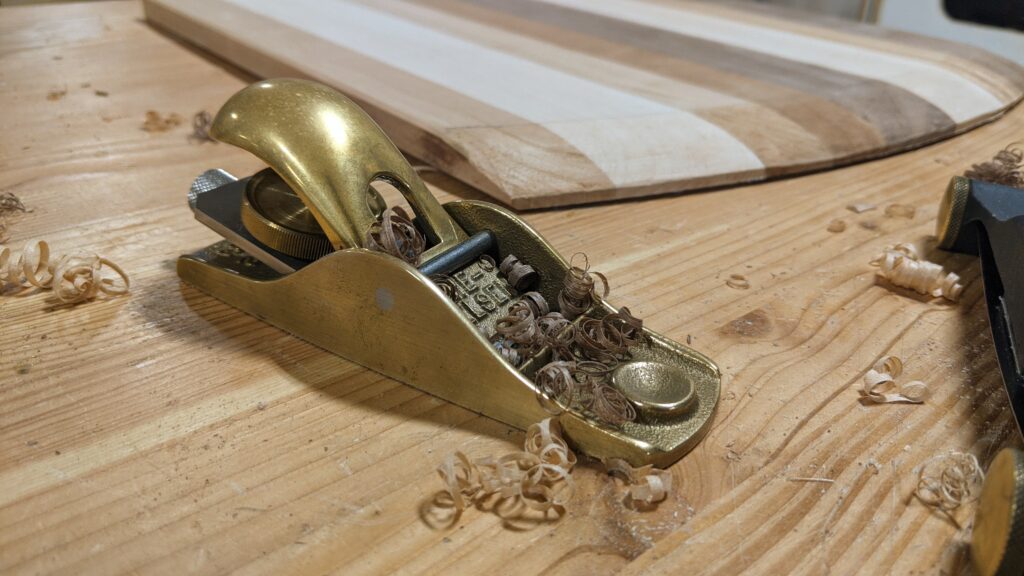
Then we used a block planer and a scraper to smooth the edges of the wood.
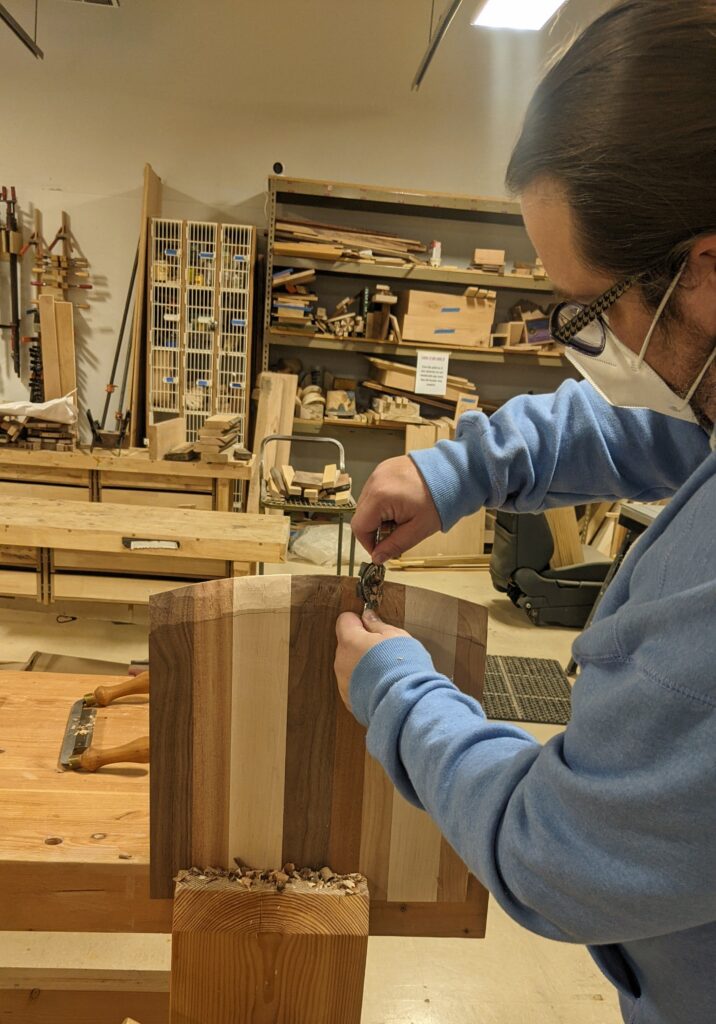
We drilled a hole in the handle so we can hang the peel, sanded all the things, and it was time to apply some linseed oil as a finish.
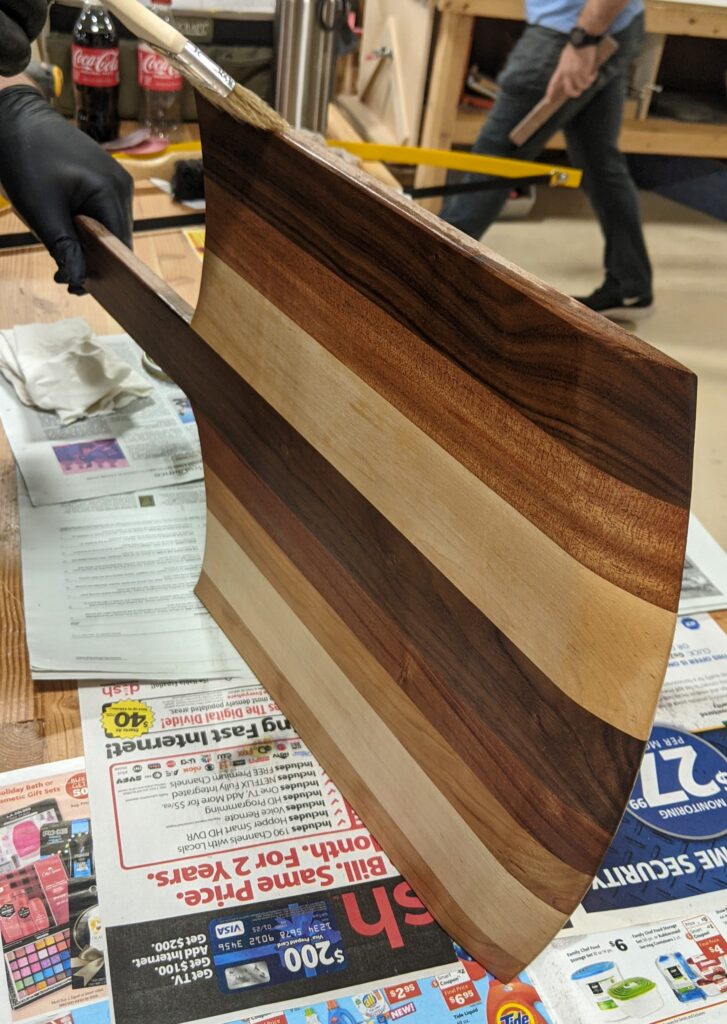
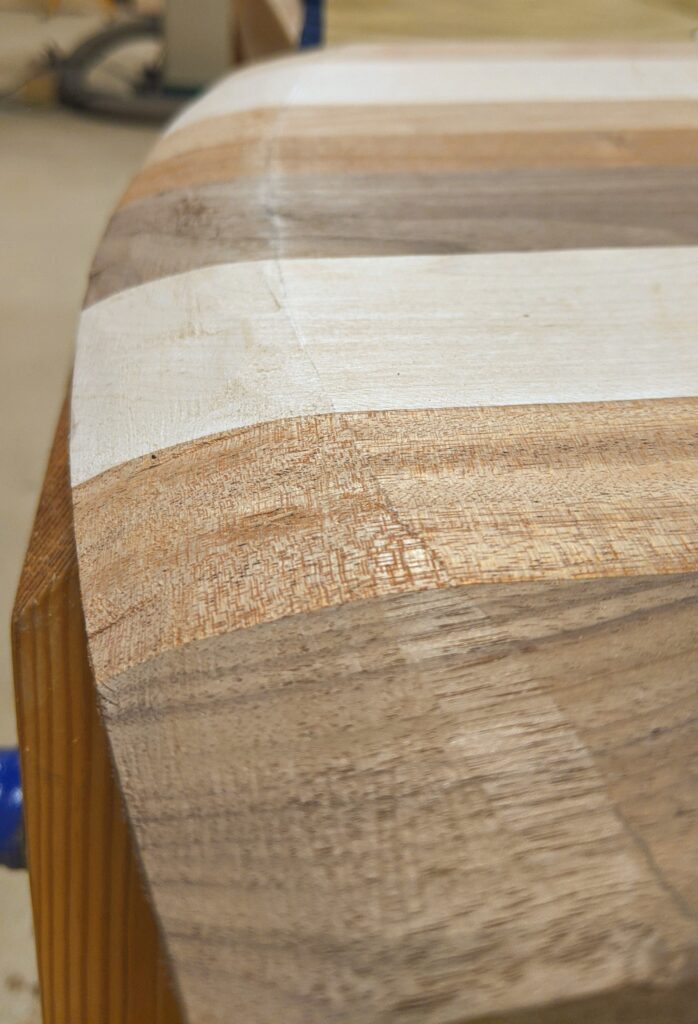
Not gonna lie; I was surprised how much the oil made the wood come alive. The grain is much stronger looking, the color is more vibrant, and the wood really glows. Also! Learned that the glow in wood has a fancy French name: chatoyance.
Apparently cherry will get the darker red color with a little exposure to UV, so our plan is to leave it in the sun for a few days, then apply a few more layers of linseed oil over the next few weeks. Make a little leather thong to hang it from. Then, in forty days, it will have cured and it’s time to MAKE SOME PIZZA.
I’m really going to have to make prettier pizza with this pretty of a peel.
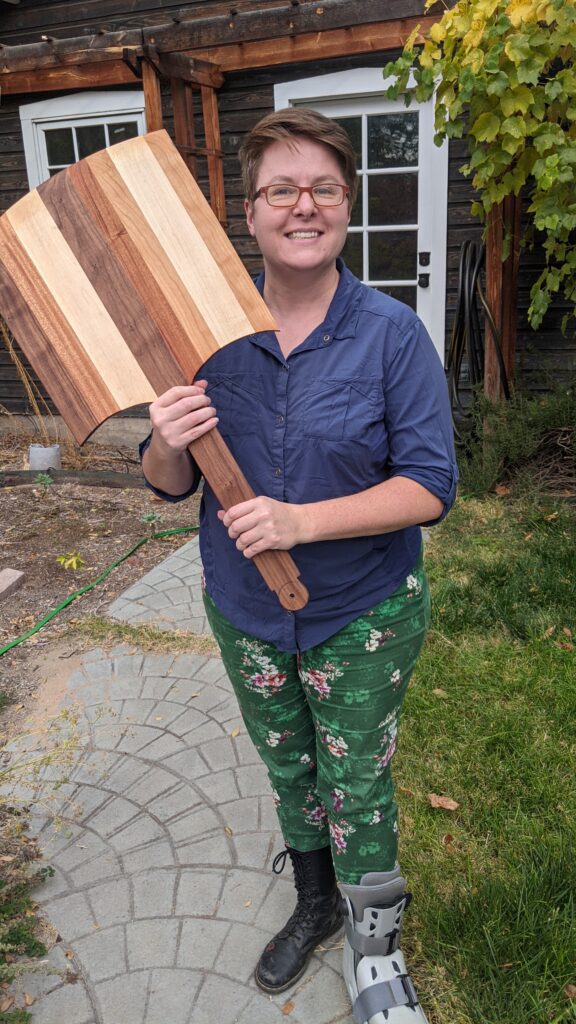
Highly recommend the classes at Dovetail — it was a small class (just us!), everyone was incredibly friendly, and we learned a ton in two short days. After spending all day at a computer, it feels good to make something physical.